Showing posts with label Craft Rocket Challenge. Show all posts

Saturday, January 28, 2023

Beautiful Day


I started today's card by creating my background with 'Brusho's'. I die cut my flower several times and adhered the layers together to give it some height. Once my background was dry, I cut a panel out of the part I wanted to use and then cut out an inner panel that I then popped up with foam tape. I also added a white outer frame as well. After adhering all my layers, I added a small sentiment, a butterfly and some sequins to finish it all off.

I adding my card to the following challenges...


As always, thanks for stopping by


Saturday, August 27, 2022

Sunflower Birthday


Today's card was created by using Distress Inks to create a water colour background. Once dry, I stamped my large Sunflower stamp and die cut out the portion I wanted to use. I coloured the flower petals with a bright yellow Copic marker to highlight the petals a bit more and then framed the panel with soft green cardstock. To finish off, I die cut my sentiment three times and stacked them to give it some height and then added some glass finish glue to make it shine.

I am adding my card to the following challenges...


Thanks for popping in


Sunday, August 14, 2022

Watercolour Birthday


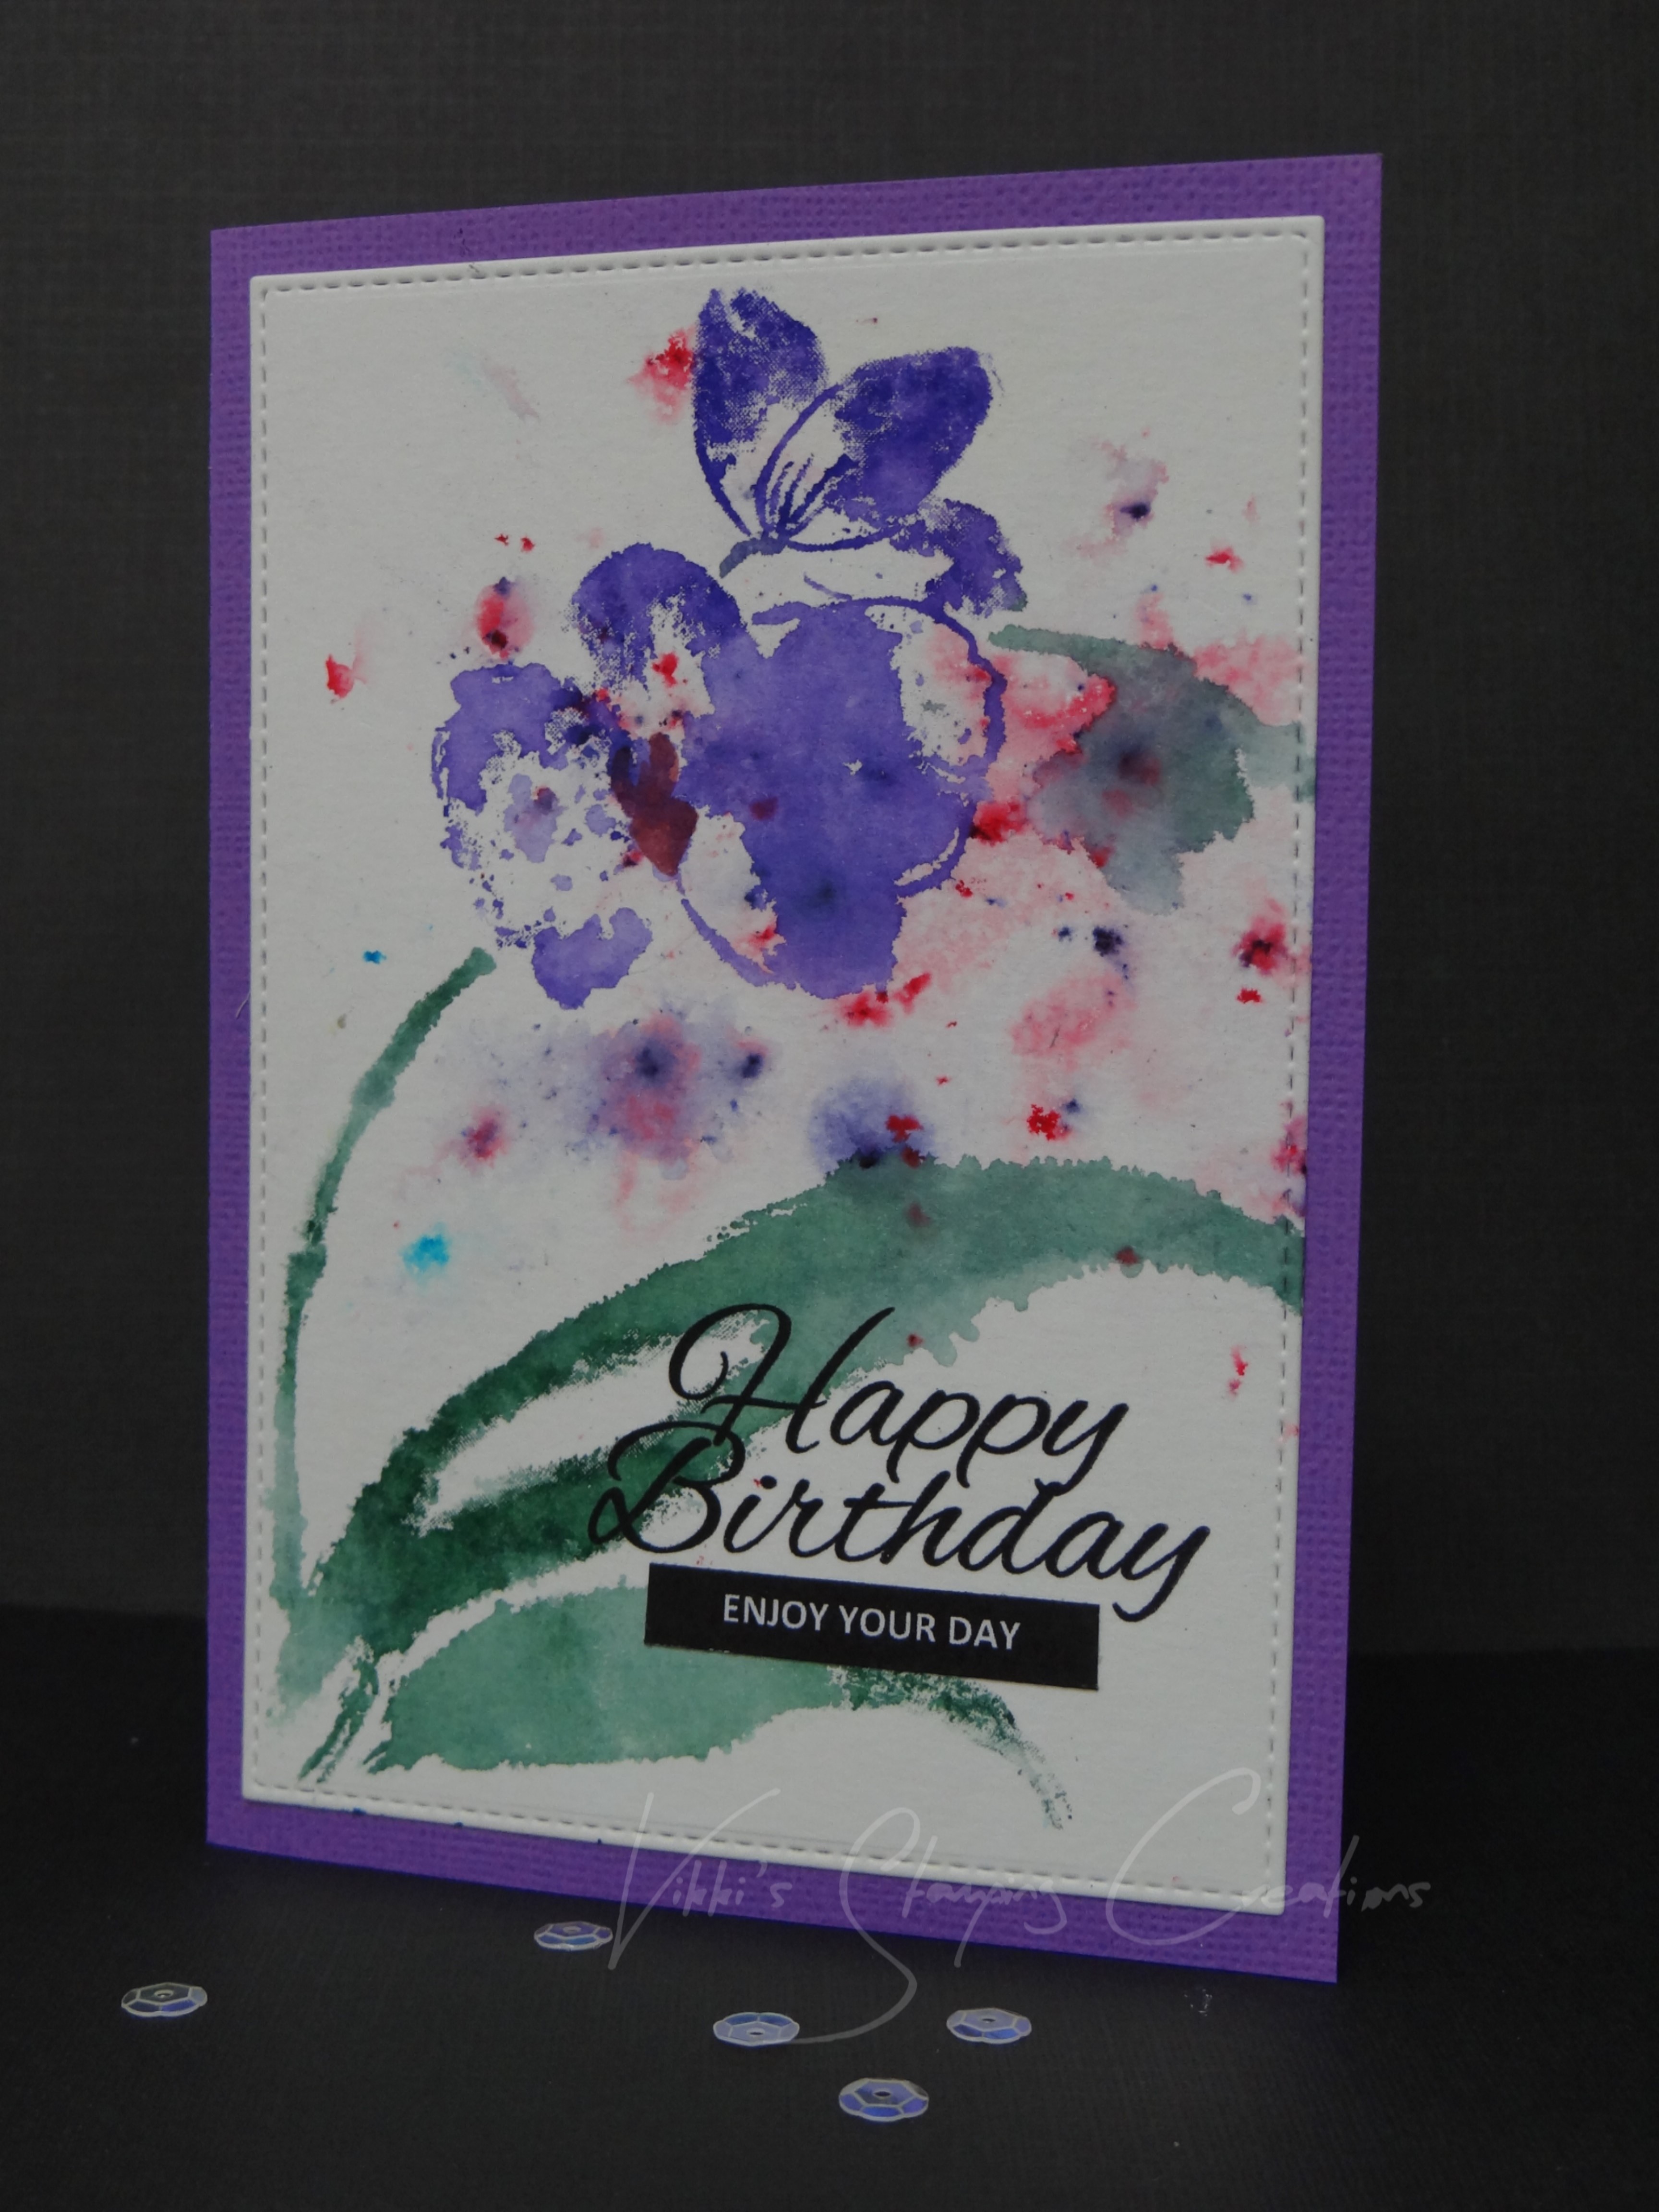
Today, I started by using my Brusho's to create my background on watercolour cardstock. I then 'inked' my orchid stamp by colouring it with Tombow Markers. I spritzed the stamp and placed my panel over the stamp and rubbed it firmly to ensure I picked up all the ink. Once dried, I then stamped my sentiment and added a sub-sentiment under neath for some added interest. I finished it off by adding it to some coordinating coloured card stock.

I'm adding my card to the following challenges...


Thanks for popping in


Saturday, April 23, 2022

I heard today...


I created today's background by using my Gel Plate with Distress Inks, a stencil and some ink splatters. Once dry, I cut down the panel and stamped my large sentiment and image. I also added a sub sentiment strip for some added interest. As this is for a male friend, I have left it as is with a bit of a grunge feel to it.
I am adding my card to the following challenges...


Thanks for popping in


Saturday, August 14, 2021

Hello...Sending Smiles


I created today's card with a new stencil. I masked off the flowers and sponged the leaves with DI's Mowed Lawn & Twisted Citron then masked off the leaves and sponged them with DI's : Ripe Persimmon & Crackling Campfire. I die cut my 'hello' three times in white card and once in black and layered them for dimension. I then stamped my sub-sentiment and popped it below. I die cut my first and second panels. Mounted my first for some height and then layered them.

I am adding my card to the following challenges...

Thanks for stopping by


Saturday, June 12, 2021

A Beautiful Birthday


An easy but soft and pretty card today. I watercoloured my background panel with DO's. I swiped them in the rainbow order then spritzed them with water before placing my card into the rainbow. I dried the panel off with my heat tool then die cut my Flowery Thinlits panel and adhered it to the rainbow base. I die-cut my sentiment two times and layered them for a bit of dimension and added a sub-sentiment. I then finished my card off with a few sequins for a bit of glitz.

I am adding my card to the following challenges...


Thanks for popping in


Saturday, November 14, 2020

Believe...


I created today's card by firstly swiping my embossing folder with DO Broken China then running it through my Cuttlebug. I then die cut my Christmas sentiment with white card and the base in a contrasting holographic plastic. Layered it all and added a sub sentiment and some clear sequins and tiny blue stars to finish if off.

I am adding my card to the following challenges:


Thanks for stopping by


Saturday, August 08, 2020

Lots of Love


I am having some serious issues with Blogger today! I don't know about everyone else but I do not like the changes they have made...arrrgh!!
Anyway, back on topic, my card has been in the making for a couple of weeks as it wasn't coming together for me. I created my background with DO's, die cut my circle frame and adhered it to the my panel. I then used my Misti to stamp half of my sentiment and then die cut the rest of my sentiment 3 times and glued them together for height. This is the first time that I have done that and I must admit I like the effect.

I am adding my creation to the following challenges...


Thanks for popping in


Saturday, April 06, 2019

Pop's Birthday


Today's card was made for Step Father's special birthday, he turned 70 on Monday. I created my background with DI's then stamped part of a stencil for a bit of interest in the background. Die cut my new 'deer head' and 'happy' layered them then finished off with a stamped 'birthday'.

I am adding my card to the following challenges:


Thanks for popping in

Saturday, January 05, 2019

Christmas Wishes


Happy 2019 everyone! I hope you have had a great start to the new year.
I love today's card, just for the simplicity of it and the colours. I think blue and white looks so fresh. I created the background with DI's, just swished them on with a paint brush. Stamped my sentiment and added two white fur trees.

I am adding my card to the following challenges:


Thanks for stopping in

Sunday, November 05, 2017

Christmas Baubles


My second card for the weekend and another Christmas card. I created my background with brusho's, die cut my baubles and sentiment, then layered.

I'm adding my card to the following challenges:

CAS(E) this Sketch - #246
Craft Rocket Challenge - #43 Christmas is Coming


Blog Badge


Monday, June 19, 2017

Happy 21st Birthday


This card I have made for my son who will be turning 21 next week. I really liked Shawna's card from the DT at The Male Room that I just had to case it with my twist to her card. I die cut some hexagons out of 3 different colours then arranged them so that some were off the page, stamped a birthday sentiment and added a die cut 21. A nice simple but effective card for my baby who will be 21 soon...where have the years gone???
I am adding my card to the following challenges:

The Male Room: TMR#62 - Off the Edge

Star in my Pocket: Make it for a Man

Craft Rocket Challenge: For the Men/Boys


Have a great week, 


Related Posts Plugin for WordPress, Blogger...